UBUNTU Multipass
Ubuntu Multipass is an excellent tool that enables users to run a Stanag2WebRTC server on Windows quickly and efficiently. Multipass allows users to create and launch lightweight virtual machines that are optimized for running Ubuntu. With its easy-to-use interface and quick setup, Ubuntu Multipass is one of the fastest and most convenient ways to run a server on Windows.
Here is a step-by-step guide on how to run a Stanag2WebRTC server using Ubuntu Multipass.
Prerequisites:
Windows 10/11 Pro or VirtualBox
Steps:
1. Go to https://multipass.run/ and download and install Multipass for Windows. Select either Windows or VirtualBox hypervisor.
2. Determine the network interface you want to run Stanag2WebRTC on by using the cmd command ipconfig. We will be using the Ethernet adapter.
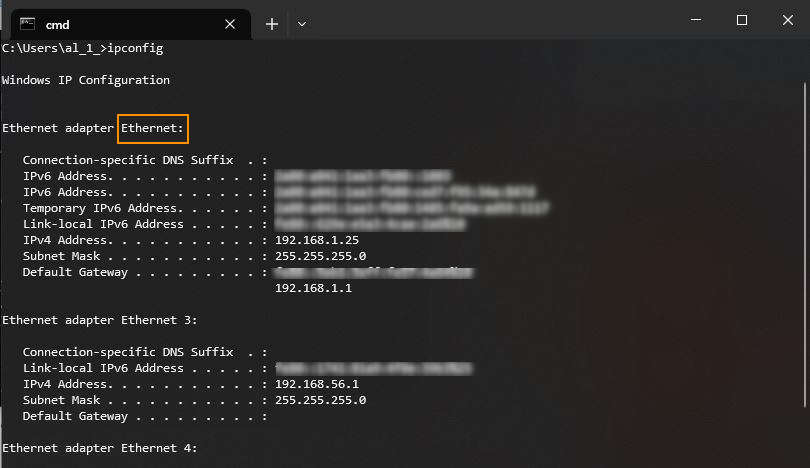
We will be using Ethernet adapter.
3. Create a VM using the following command:
multipass launch --network Ethernet -c 4 -d 20G -m 5G -n stanag2webrtc
In the above command we assign network addapter, 4 CPU cores, 20G of disk and 5G of RAM to the server and give it a name stanag2webrtc.
After command completes, we can run multipass list command and see our VM running.
multipass list

4. Log in to your VM using the command multipass shell. The default user will be "ubuntu".
multipass shell stanag2webrtc
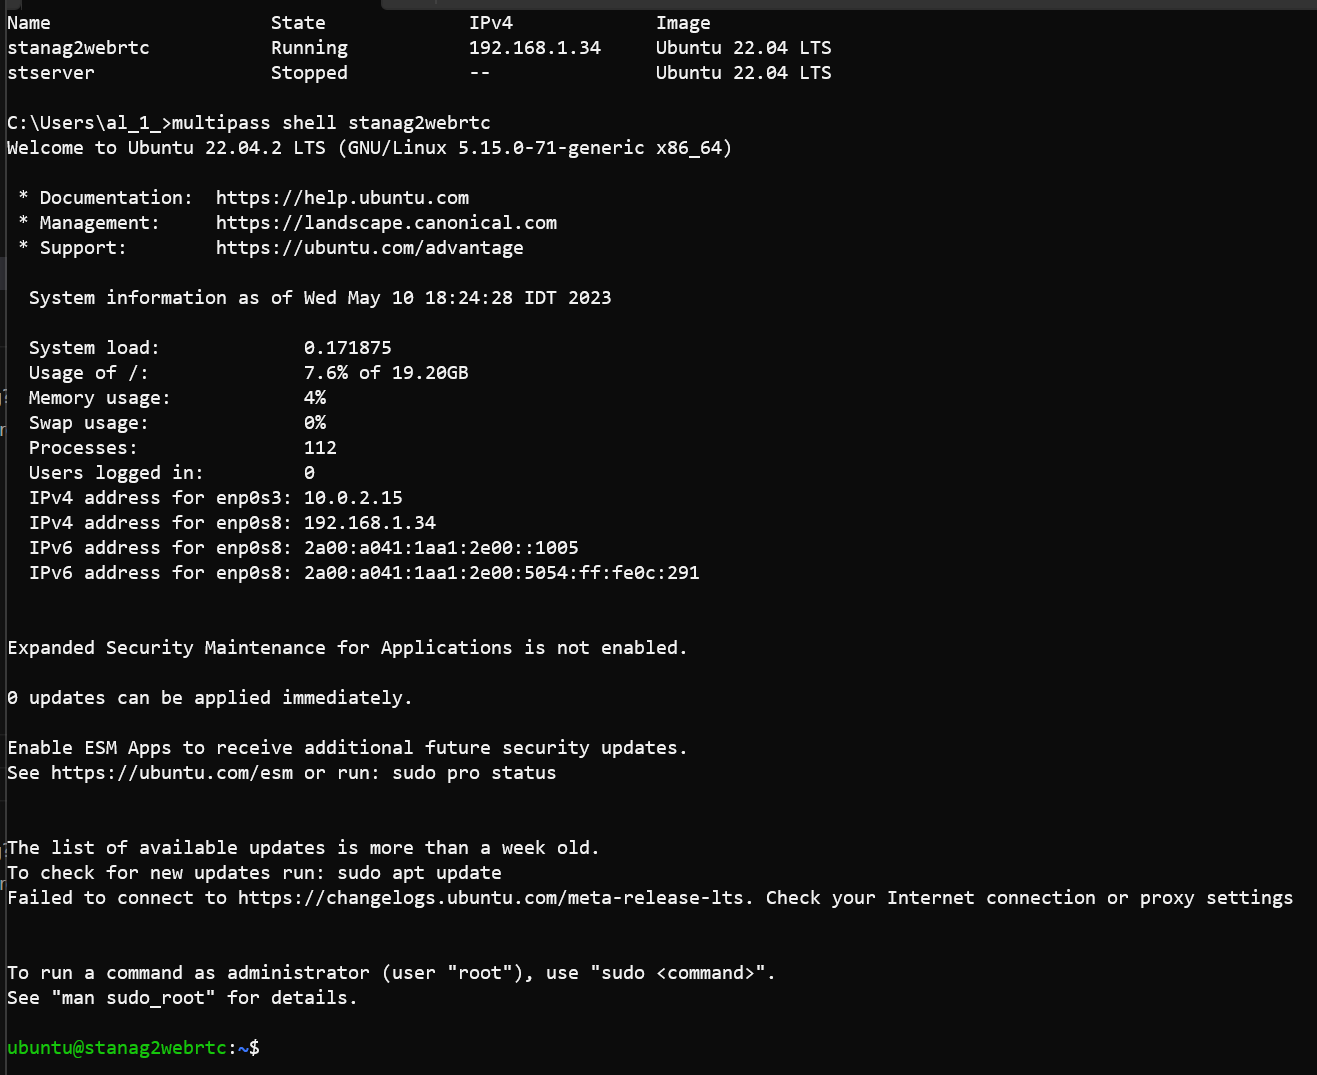 The default user will be ubuntu
5. Update the system:
sudo apt update && sudo apt upgrade -y
Now our VM is ready. Next, we'll install Docker and Docker compose. Note, you can follow the Docker installation instructions to get the latest version, but here, for the simplicity we'll use apt-get isntall command.
6. Install Docker:
sudo apt-get install docker.io
7. Add the ubuntu user to the docker group:
sudo usermod -aG docker $USER
8. Log out and then log back in to apply the group membership changes
logout
Log in back
multipass shell stanag2webrtc
You can verify that Docker is installed and running:
docker run hello-world
9. Install Docker Compose:
sudo apt-get install docker-compose
You now have Docker and Docker Compose installed on your Ubuntu system.
Running Stanag2WebRtc
docker run --rm --network host --name stanag2webrtc impleo/stanag2webrtc:2.1.2 -addr 192.168.1.34:3000 -url udp://227.1.1.1:30120 -multicastIface enp0s8
In the above example, we set the address to '192.168.1.34:3000'. This is the address we will use to access our frontend. Additionally, we specify the interface on which we would like to receive the stream by setting it to 'enp0s8' with the '-multicastIface' option. You can use the 'ifconfig' command to view the available network interfaces.
To add recording functionality, you need to set the volume mapping and the target directory for the recorder.
docker run --rm --network host --name stanag2webrtc -v /home/ubuntu/recorder:/recorder impleo/stanag2webrtc:12.1.2 -addr 192.168.1.34:3000 -url udp://227.1.1.1:30120 -multicastIface enp0s8 -recorderTargetDir /recorder